Digital Art
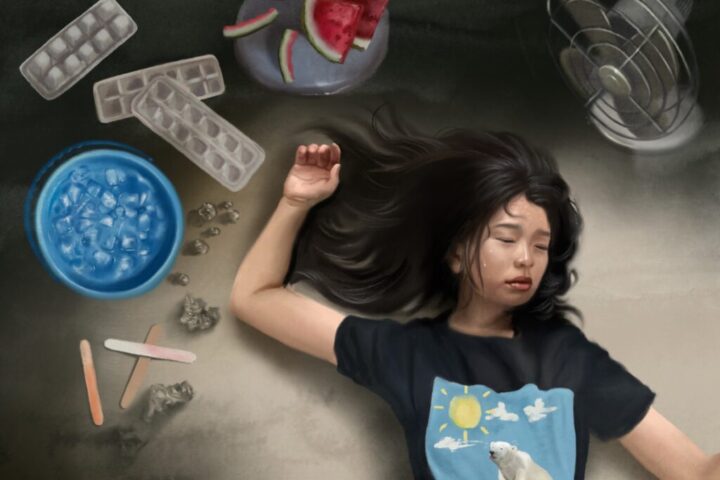
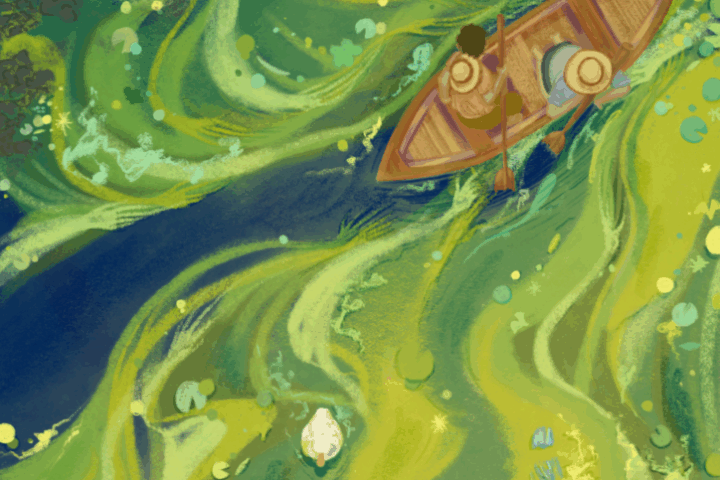
2D digital art is created using software, a tablet, and a stylus (or mouse). It mimics traditional drawing and painting but allows for more flexibility and non-destructive editing. Artists can work in layers, undo mistakes, and access a wide range of tools like brushes, textures, and blending modes. It’s widely used in illustration, animation, comics, concept art, and graphic design.
Pros
- Easy to edit, undo, resize, and experiment
- No drying time, mess, or need for physical materials
- Layering and masks offer high control and flexibility
- Can be used for multiple styles—sketching, painting, flat design, etc.
- Easy to share, print, and reproduce in various formats
Cons
- Requires access to a computer or tablet and software
- Can feel less “tactile” or personal than traditional media
- May involve a learning curve with software and tools
- Risk of over-editing or relying too much on undo
In essence
Digital art uses a stylus or mouse to draw directly into software like Procreate, Photoshop, Clip Studio Paint, or Krita. Artists can work in layers, build textures, adjust color easily, and save files in various formats. The medium is ideal for both precision and speed, offering tools like brush stabilizers, symmetry guides, custom brushes, and pressure sensitivity (when using a tablet). Final output can be optimized for screen or print.
Common Softwares
- Adobe Photoshop
- Procreate
- Clip Studio Paint
- Krita
- Corel Painter
- Paint Tool SAI
- Affinity Photo
- MediBang Paint
- Rebelle
- IbisPaint X
Guides
Each software is accompanied by its own set of official tutorials. However, here are some more general guides to help with the overall digital art process. These include basic skills relevant across platforms, insight into brushes, and methods common to digital artists!
Tips and tricks
- Set your canvas properly before starting. Decide on the resolution and DPI based on the final use—300 DPI for print, pixel dimensions for digital. This avoids blurry exports and makes sure your work scales correctly.
- Work with layers strategically. Keep sketches, linework, colors, shading, and effects on separate layers. Label and group them so you can adjust one part without disturbing the rest.
- Use shortcuts and hotkeys. Learning your software’s key commands (undo, brush size, layer switching) speeds up the workflow and keeps the creative process smooth.
- Experiment with brushes and textures. Subtle differences in brush texture can dramatically change the feel of a piece. Custom brushes or textures can help mimic traditional media or create unique styles.
- Check your values and composition often. A quick way is to flip your canvas horizontally or view it in grayscale—this reveals balance issues you might miss while focused on details.
- Save in multiple formats. Keep an editable file (e.g., .PSD, .CSP) with all layers intact, and export flattened versions (.PNG, .JPG) for sharing. Backups prevent lost progress if a file corrupts.


