3D modelling/Additive Manufacturing (CAD)
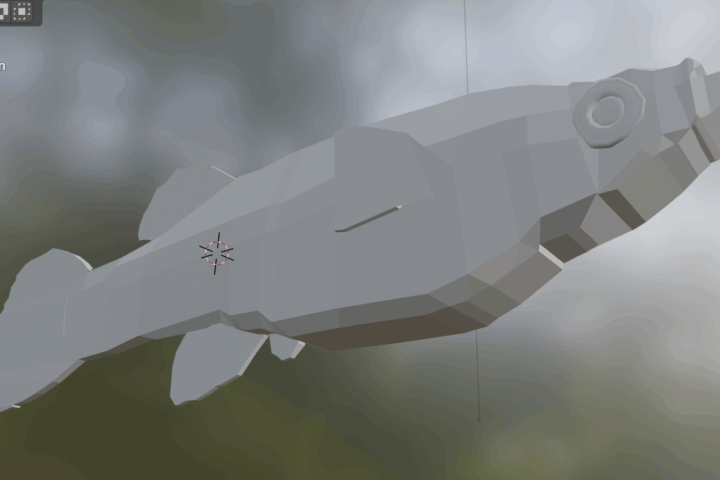
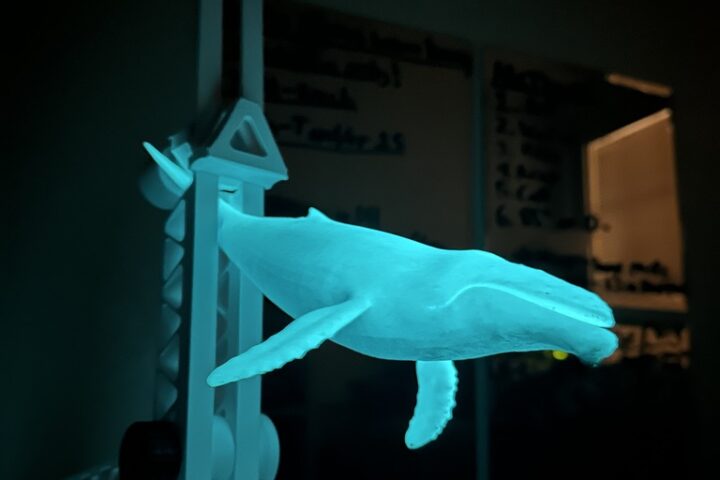
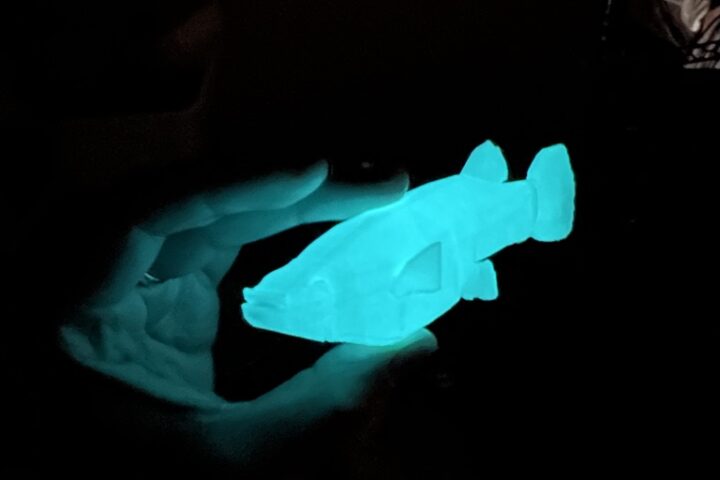
3D digital sculpting and design is the process of creating three-dimensional models using specialized software. Instead of working with physical clay, artists use virtual tools to push, pull, carve, and smooth digital material in a simulated 3D space. It’s widely used in industries like game development, film, product design, jewelry, and 3D printing, offering the freedom to create anything from hyper-realistic characters to abstract forms without the physical constraints of traditional sculpting. Additionally, the figures you create can often be printed (at lower resolution) with a 3D printer if you choose to have your art take on a physical form.
Pros
- Infinite undo and non-destructive editing
- Can switch between rough blocking and fine detailing easily
- Works with symmetrical modeling tools for faster creation
- Integrates with texturing, rigging, and animation pipelines
- Files can be reused, resized, and 3D printed
- No mess, physical storage, or material costs
Cons
- Requires powerful hardware for complex models
- Requires a 3D printer or similar hardware to make physical replicas
- Software and learning curve can be intimidating at first
- Can feel less tactile than working with physical materials
- High-detail models can lead to large, unwieldy file sizes
- Dependent on software updates and digital storage
In essence
3D digital sculpting is the process of shaping a virtual mesh into detailed forms using sculpting software. Main approaches include blocking, where low-resolution shapes are built to establish proportions, and high-detail sculpting, which adds fine surface textures and features. Tools often include symmetry functions, dynamic mesh resolution, and the ability to switch between sculpting and modeling modes. Models can be prepared for animation, game assets, or 3D printing depending on the workflow. The medium requires understanding of both form and topology to create models that are visually strong and technically sound.
Common softwares (For a more detailed breakdown by level and expense, see 3D Modeling Basics : 34 Steps (with Pictures))
- Blender
- Autodesk Fusion
- ZBrush
- SketchUp
- Adobe Substance
- TinkerCAD
Guides
Each software will have its own tutorials and guides, but here are some generalized guides for digital 3D software navigation, modelling, and related skills.
Tips and tricks
- Start with a simple base mesh—either a primitive shape or a premade form—to lock in proportions early. This gives you a solid structure to build on and prevents having to rework major shapes later. It also helps you focus your early sculpting sessions on form rather than fine detail.
- Work in low resolution first so you can block in large shapes quickly without worrying about detail. Increasing mesh resolution gradually lets you refine the model in stages, making sure each layer of work is supported by the last. This staged approach saves time and avoids wasting effort on details that may need to be changed.
- Use symmetry tools while shaping to keep your model balanced and speed up the process. However, turn symmetry off when adding small imperfections or unique details so the result feels more natural. This balance of precision and variation keeps the final model from looking overly mechanical.
- Keep your project organized by separating different parts into layers or subtools. This makes it easier to isolate areas for specific adjustments without affecting other sections. It also simplifies troubleshooting if a particular part of the model develops problems.
- Monitor your mesh quality throughout the process, especially if the model is intended for animation or 3D printing. Retopology tools can help create cleaner geometry, reducing technical issues later in production. Taking the time to clean up the mesh ensures smoother results and better compatibility with other workflows.