Graphite
If you are looking for a versatile and easy-access medium you likely use on the daily, graphite might be the medium for you! Using graphite can be as simple or as complicated of a process as you would like it to be. Excellent, life-like drawings can be made using the standard pencils used in schools, and graphite of different textures and darknesses can take your drawings a step further. Here you can explore various resources, examples, pros, and cons for the graphite medium.
Pros
- Suitable for both precise line work (e.g., technical sketches) and expressive shading
- Low cost and easy access
- Erasable
- Low mess
- Does not degrade or fade easily over time
- Allows for precise control when drawing
Cons
- Monochromatic—only black and white)
- Smudges easily
- Shiny reflection—difficult to photograph and details obscured by glare
- Rough on paper—paper may degrade with repeated drawing and erasing
- Slow medium
In essence
Graphite drawings are typically created using a set of pencils of varying hardness and darkness. By building up drawings layer by layer, patiently deepening shadows while working textures into your piece with an eraser, stunning detail can be achieved. It’s important to work slowly and deliberately to protect the paper’s surface, reduce smudging, and avoid a metallic sheen caused by pressing too hard.
Guides
- How to Shade with PENCIL for BEGINNERS (only 1 pencil needed)
- BEGINNER’S Guide To GRAPHITE Pencils (full pencil set)
- Pencil Lead 101: Navigating the World of Graphite Hardness and Grades
- BEST WAYS TO BLEND GRAPHITE PENCILS
Tips and tricks
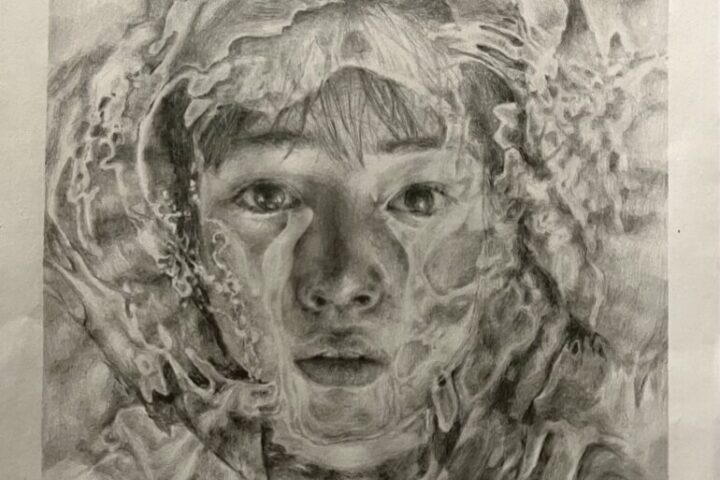
- When drawing with graphite, or any monochromatic medium, shadows are everything! If you can capture the shadows of your subject, you will capture its likeness quite well, even without intricate detail. You can practice this by squinting your eyes when looking at your drawing subject until your subject appears blurry. Draw the blurry shape of the shadows of your subject, ignoring detail, and then add details later, making use of your eraser for added texture and precision.
- Sketch lightly so you can adjust proportions or placement before committing to darker lines. This also makes erasing cleaner and easier.
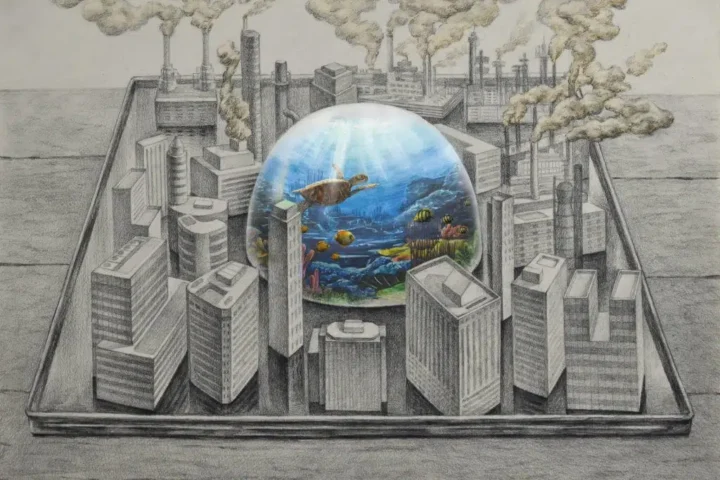
- Use a kneaded eraser! While this adds a new item to your shopping list, these erasers are very cheap and last for years. Unlike your typical pencil eraser, kneaded erasers can be shaped as needed to create intricate textures. You could create the tiniest point when adding specks of light to a turtle’s eye, or shape a wide edge for adding highlights to a wide kelp frond.
- Beware smudging! Use a piece of blank paper to rest your hand on to avoid smudging as you draw or keep your hands off your paper altogether. Some artists take rods or pieces of wood and set them up above their paper to brace their hands as they sketch.
- Use smoother paper for more detailed work. Keeping your pencils sharp is also crucial for high precision.